Save time and be more effective. Plan your content production in advance to fulfill your digital strategy.
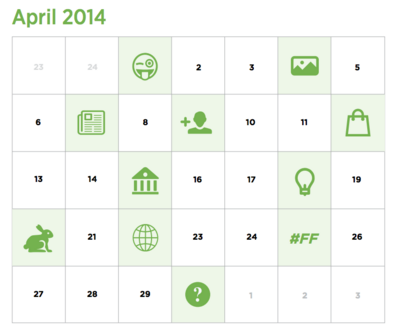
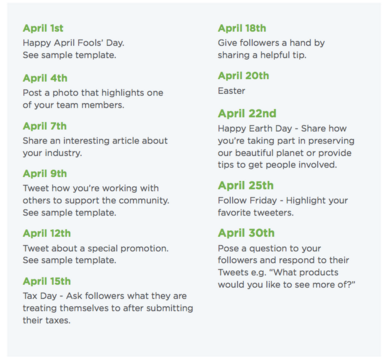
With an editorial calendar, you can plan your blog posts, and your social media content, weeks or months in advance. You will get a better picture of what you need to do in the coming weeks.
Don’t fall in the trap to write about the same tool and subject week after week. You and your readers get bored! It’s often easier to come up with ten ideas when you are in a creative mood, than ten ideas individually when you’re on a deadline! The planning exercise will get you more inspired.
With the editorial calendar, you get a good overview and make sure to cover a mixture of content for different networks. Do the same with your blog, your industry or niche. The Editorial Calendar makes sure that you have an interesting mix of content.
 Calendars work as mental models, showing us something familiar to help us comprehend something hard. Plan and organize around key events, dates, and launches. Ensure plenty of preparation time to get content ready to publish.
3 Editorial Calendars

Buffer is a great tool for scheduling content. You simply fill up your Buffer account each day and it will automatically post the content to the
CoSchedule – Connect your WordPress Blog with the editorial calendar for the blog, content marketing, and social media.
CoSchedule is the first social media editorial calendar for WordPress that allows you to schedule your blog and social media at the same time. When you have created your account at CoSchedule you can connect a WordPress blog with your calendar in 2 minutes. Here’s an introduction.
Google Sheet Editorial Calendar
The Google Docs spreadsheet program will allow you to create your own editorial calendar and give you access to several editorial calendar templates.
The Google Docs spreadsheet program will allow you to create your own editorial calendar and give you access to several editorial calendar templates.
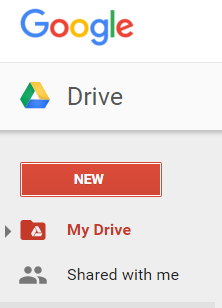
In your Google Drive choose new and the Spreadsheet format. For several editorial calendar templates choose Spreadsheets and All Items.
 Create Your Own Editorial Calendar
Step 1
Direct your browser to the Google Docs landing page, which is actually Google Drive (see link in Resources). Enter your email address and password if necessary. Click the “Create” button on the left side of the window and then choose “Spreadsheet” from the drop-down menu. A blank spreadsheet will open up in a new tab.
Step 2
Click on cell “A1” and type “Date” or “Edition” into the cell. This will designate column “A” as the labels for you different editorial editions. After adding the label, go down the column and type in the names or dates of the editions;
Step 3
Select cell “B1” and enter the first category that you want to track using your editorial calendar. After that, continue down the first row entering the names for all of your categories. These categories can include “Submission Deadline,” “Photo needed,” “Completed Date,” “Authors” and whatever else your specific publication needs to track.
If you need more instruction on how to set up your Google Editorial Calendar, here is a useful instruction.
Good Luck with your content planning!